
Volumetric Raymarching can be Very Costly
Volumetric Raymarching can be very costly as many 100s of ray-marching operations are performed on the GPU each pixel for each frame. A standard HD screen of 1920x1080 contains over 2 million pixels. In the case of my atmosphere + cloud shader, this high fill-rate cost brings the game's frame-rate to its knees.
In order to play Pegwars with cool new clouds in smooth realtime and iterate on the shader, I had to shade the planet and everything within the planet's atmosphere to a half-width, half-height render target. This approach costs 1/4 of the fill-rate and renders around 4x faster, but the results as you can see are blocky and blurry. Especially the building edges and the horizon lines are badly aliased :


Multi-Resolution Shading
As the atmosphere / cloud shader is very much fill-rate limited, either optimise the number of shader instructions per-pixel, or reduce the number of pixels shaded. The goal for this technique is to reduce the number of pixels rendered while still rendering the effect at high resolution so as not to lose any visible detail.
There are large areas of the viewport where the final shaded result will not change dramatically and so these can be shaded at 1/4 size without it being particularly noticeable. On the other hand there are areas (object edges and terrain horizon especially) where it is essential to render the effect at full-resolution.
The basic heuristic follows:
Details of the Multi-Res Optimisation
Step 1 - Write the Atmosphere Mask
First detect all the areas of the screen where the shader must run at full resolution. Output a grayscale mask. White areas will run the full-resolution shader, while black areas run the lower-res one instead. The mask should have a soft blend from one to the other, meaning that any pixel in the mask that is not 100% will need to render the shader at full rez.
The Depth / Normals map is sampled in the locality and analysed for specific features. Horizons exist where the local depths range from something near to an unset depth. Object silhouettes exist where the difference in local depths exceed some threshold function. The ddx / ddy of the normals are used to detect variances in face angles within objects themselves.
Areas where no silhouettes are detected in the area are rendered as 100% black areas in the mask. These areas can render at a lower-resolution, saving precious fill-rate and providing the performance optimisation.
Here's some miscellaneous images I snapped while writing the edge detection shader:
 |
Detecting object sillhouettes by using ddx/ddy from the normals map.
Note the artifacts in the sun using this technique, the threshold is poorly chosen.
|
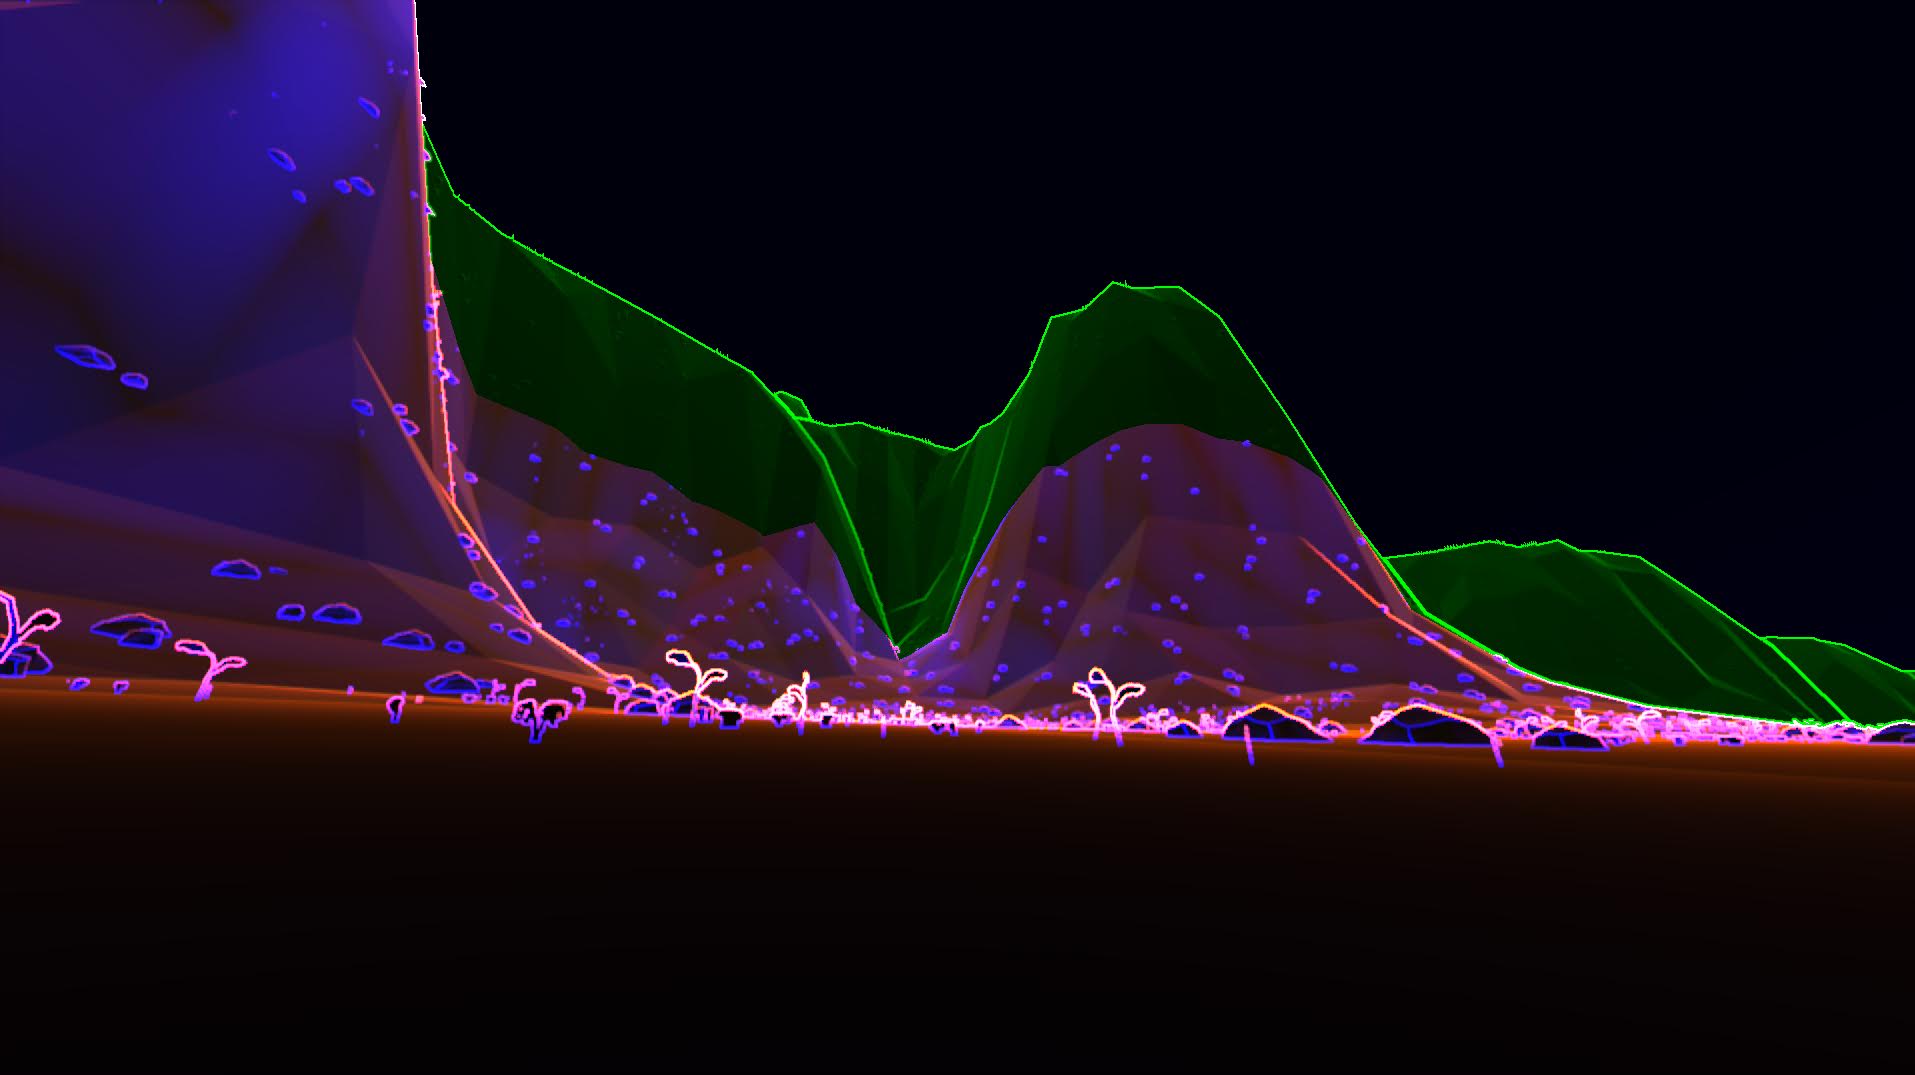
 |
Different Regions of the Edge Detection drawn in different colours.
|
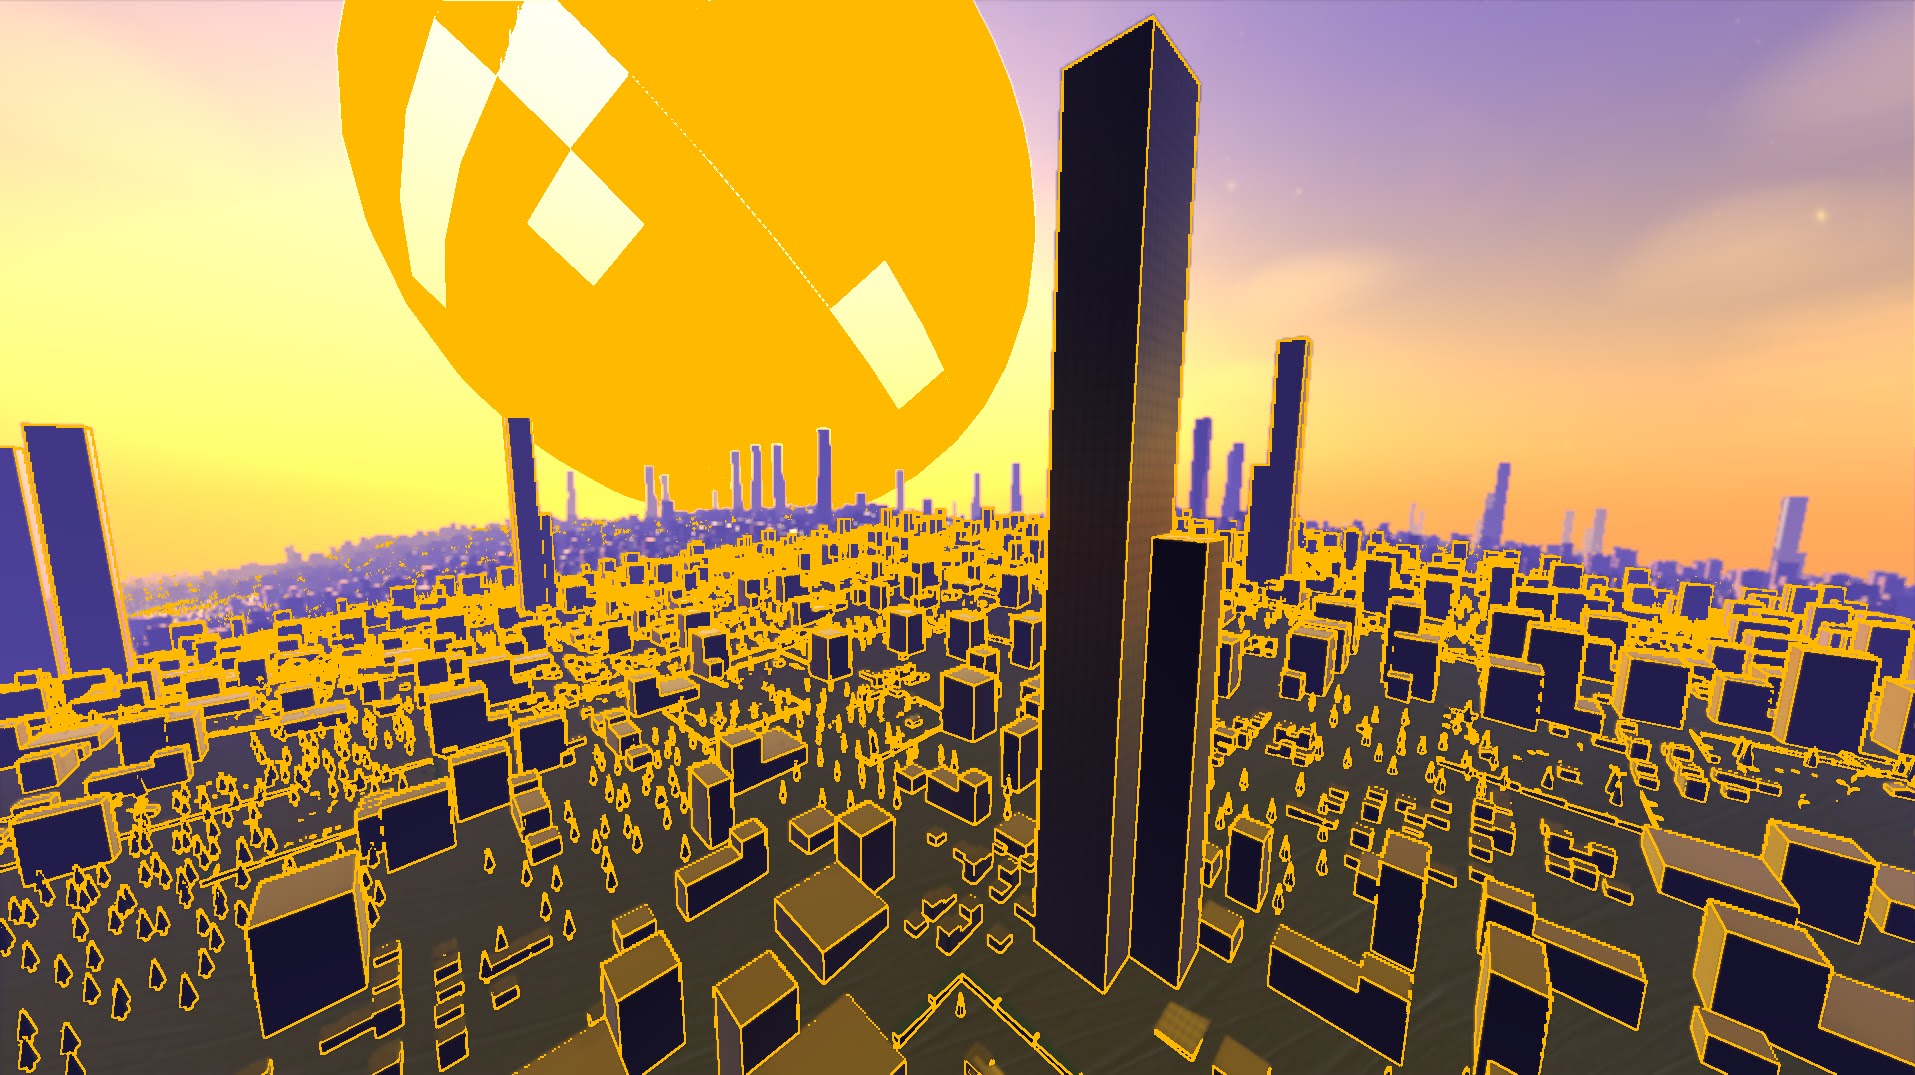
 |
A Surreal looking cityscape
|
 |
Starting to look more like the final mask output
|
Step 2 - Render the 1/2 size Atmosphere + Cloud shader
In this stage we simply render the full atmosphere + cloud shader into a 1/4 cost render target. As mentioned in the introduction to this post, the results are blocky and blurry. This provides another input, alongside the atmosphere mask, for step 3 to follow.
Step 3 - Write BackBuffer with Full Resolution Atmosphere + Clouds, Based on the Atmosphere Mask
Finally render the full-resolution shader into the BackBuffer.
Where the Atmosphere Mask is black, simply copy the lower-res result from stage 2, avoiding the cost of running the atmosphere shader at full resolution.
Where the Amosphere Mask is white, render the full resolution atmosphere and clouds shader. This renders all detected edges crisply and brings back all our precious detail. Since we are only running this expensive code path selectively , the overall effect renders quickly.
Where the Atmosphere Mask is gray, blend between the two. In order to know what colour we are blending to we have to calculate the full resolution shader, so these gray mask areas still incur a high cost.
Here are the results, side-by-side with the Atmosphere Mask. Everywhere the Atmosphere Mask is black, the image on the left was only shaded in low-res. Everywhere else was shaded in high resolution.
Here are some more screenshots demonstrating the overall result - crisp edges and a completely playable framerate!. It's a huge improvement, but it still runs a bit too slow for my liking, and I want to add more features to the shader. So in future I'll have to focus on optimising the raymarching algorithm itself.
Another volumetric effect that will benefit from this technique is the new galactic nebula shader. The nebula shader currently runs at 1/8th resolution because it is so costly, and also happens to have large areas of low-frequency detail. By applying this multi resolution optimisation to the nebula, I should be able to add far more detail, without impacting performance.


Comments
Post a Comment